Cách xem Product Key trên Windows 10

Th2
Deprecated: trim(): Passing null to parameter #1 ($string) of type string is deprecated in /home/caocap/public_html/wp-content/plugins/fixed-toc/frontend/html/class-dom.php on line 98
Key bản quyền trên Windows 10 bị ẩn vì lý do bảo mật nên bạn không thể nhìn thấy key bản quyền trên Windows 10 trong các mục cài đặt hay kích hoạt. Nếu bạn tò mò và muốn kiểm tra key Windows 10 chuẩn xác nhất thì bạn hãy làm theo hướng dẫn sau đây.
Cách 1. Dùng tool WinProdKeyFinder
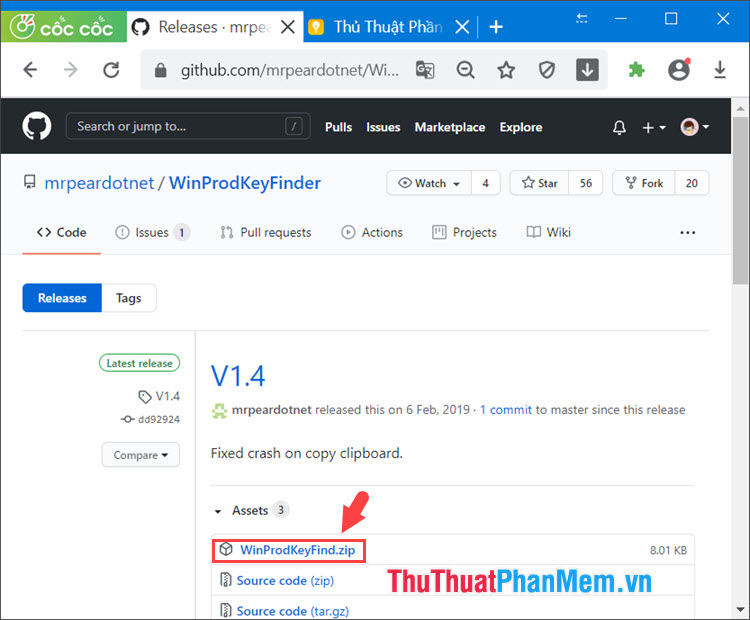
Bước 1: Bạn tải về tool xem Product key từ GitHub tại friend.com.vn/mrpeardotnet/WinProdKeyFinder/releases
Bạn click vào file .zip để tải về.
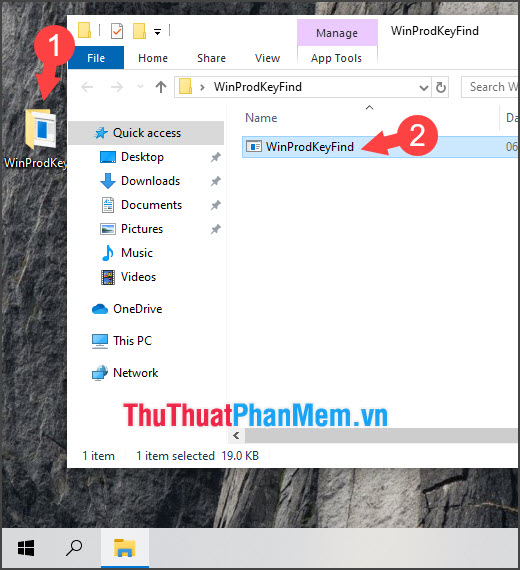
Bước 2: Bạn giải nén và click vào thư mục (1) => mở ứng dụng WinProdKeyFind (2).
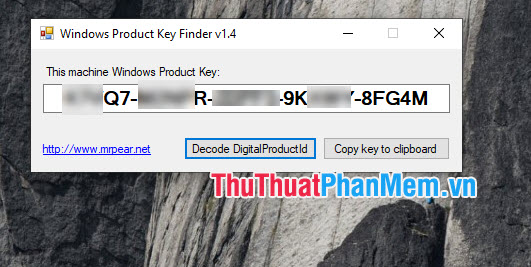
Sau đó thì mã bản quyền trên máy tính của bạn sẽ hiển thị lên.
Cách 2. Sử dụng Command Prompt
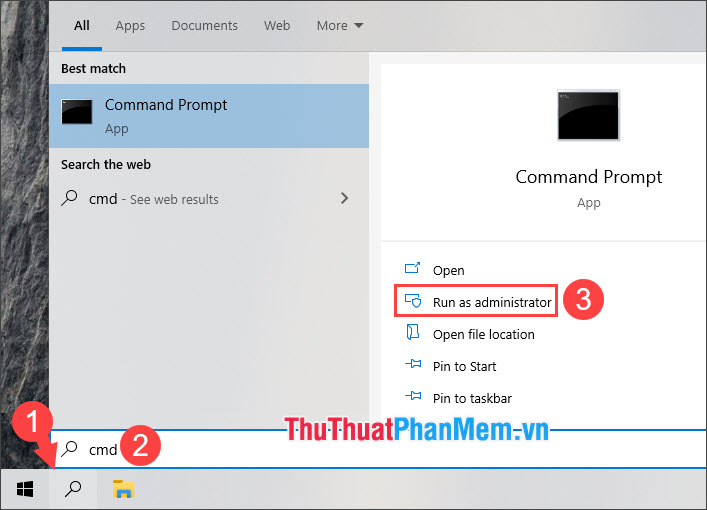
Bước 1: Bạn vào Search (1) => tìm cmd (2) => Run as administrator (3).
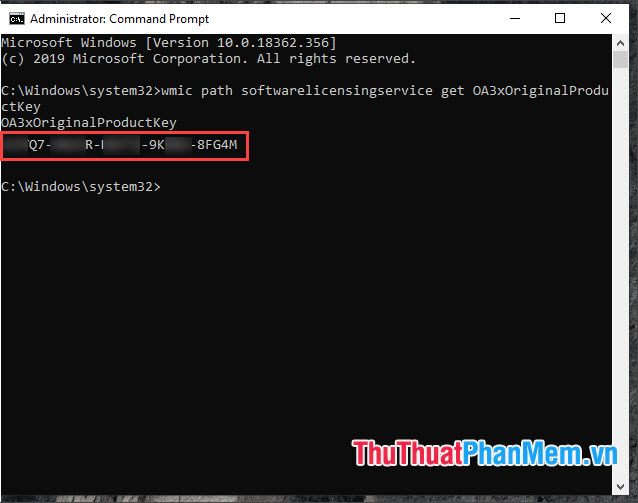
Bước 2: Bạn nhập lệnh sau và ấn Enter.
wmic path softwarelicensingservice get OA3xOriginalProductKey

Sau đó thì mã key bản quyền Windows của bạn sẽ hiển thị ở phần bên dưới lệnh.
Cách 3. Sử dụng mã VBS để xem key
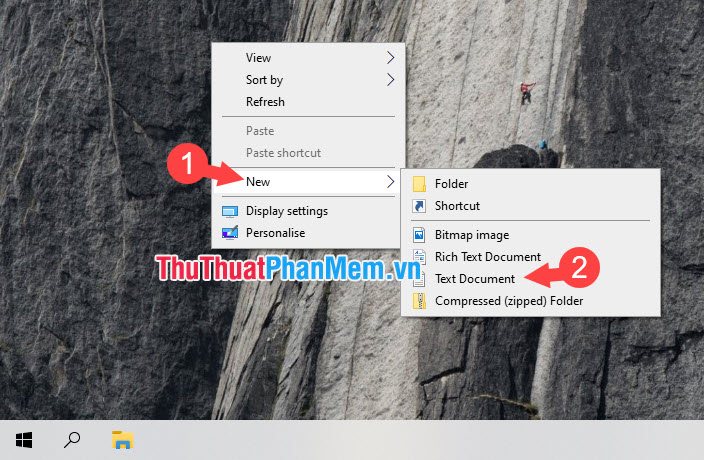
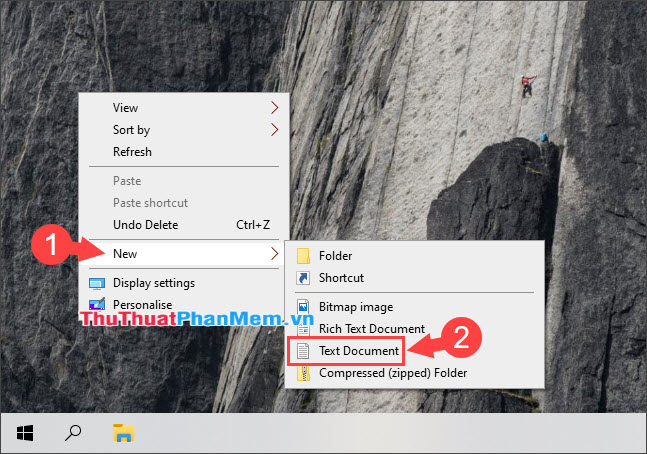
Bước 1: Bạn click chuột phải vào Desktop => chọn New (1) => Text Document (2).
Bước 2: Bạn chép đoạn mã sau vào Notepad.
Set WshShell = CreateObject(“WScript.Shell”) MsgBox ConvertToKey(WshShell.RegRead(“HKLMSOFTWAREMicrosoftWindows NTCurrentVersionDigitalProductId”)) Function ConvertToKey(Key) Const KeyOffset = 52 i = 28 Chars = “BCDFGHJKMPQRTVWXY2346789” Do Cur = 0 x = 14 Do Cur = Cur * 256 Cur = Key(x + KeyOffset) + Cur Key(x + KeyOffset) = (Cur 24) And 255 Cur = Cur Mod 24 x = x -1 Loop While x >= 0 i = i -1 KeyOutput = Mid(Chars, Cur + 1, 1) & KeyOutput If (((29 – i) Mod 6) = 0) And (i <> -1) Then i = i -1 KeyOutput = “-” & KeyOutput End If Loop While i >= 0 ConvertToKey = KeyOutput End Function
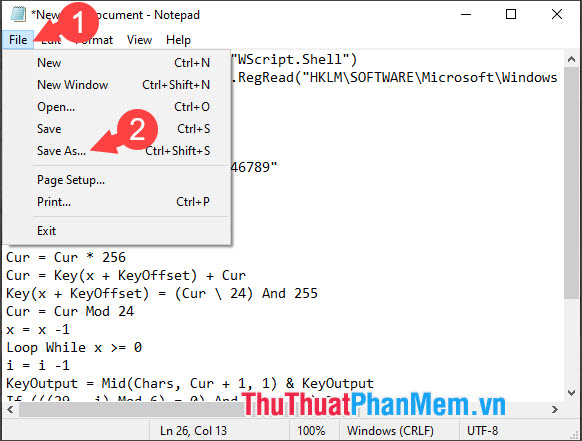
Tiếp theo, bạn click vào File (1) => Save As (2).
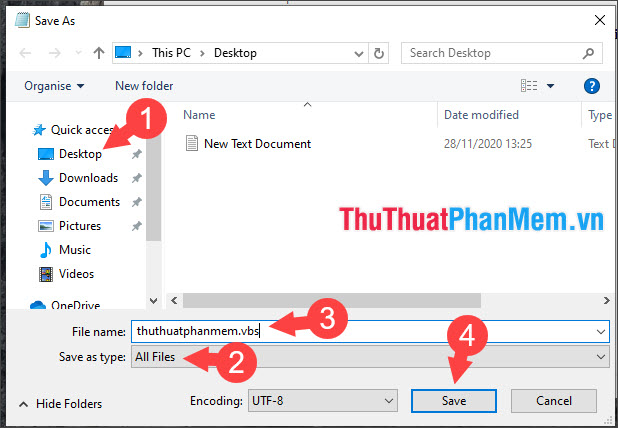
Bước 3: Chọn nơi lưu file (1) => thiết lập All files (2) => đặt tên file với phần mở rộng .vbs (3) => Save (4).
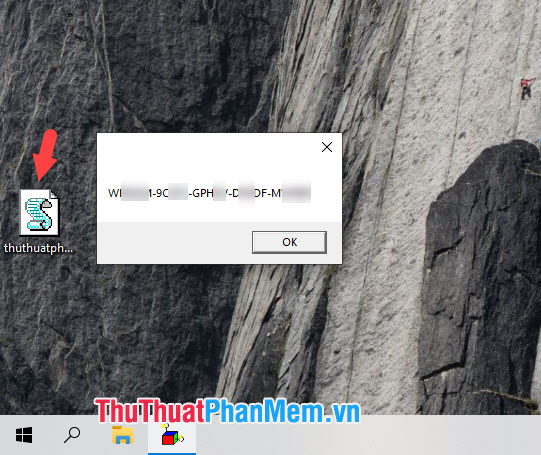
Bước 4: Bạn mở file vừa tạo và thông tin về mã Product key sẽ hiển thị trong popup.
Cách 4. Sử dụng lệnh thực thi trong Windows Power Shell
Bước 1: Bạn click chuột phải vào Desktop => New (1) => Text Document (2).
Bước 2: Bạn dán lệnh sau vào Notepad.
function Get-WindowsKey ## function to retrieve the Windows Product Key from any PC ## by Jakob Bindslet ([email protected]) param ($targets = “.”) $hklm = 2147483650 $regPath = “SoftwareMicrosoftWindows NTCurrentVersion” $regValue = “DigitalProductId” Foreach ($target in $targets) $productKey = $null $win32os = $null $wmi = [WMIClass]”\$targetrootdefault:stdRegProv” $data = $wmi.GetBinaryValue($hklm,$regPath,$regValue) $binArray = ($data.uValue)[52..66] $charsArray = “B”,”C”,”D”,”F”,”G”,”H”,”J”,”K”,”M”,”P”,”Q”,”R”,”T”,”V”,”W”,”X”,”Y”,”2″,”3″,”4″,”6″,”7″,”8″,”9″ ## decrypt base24 encoded binary data For ($i = 24; $i -ge 0; $i-) $k = 0 For ($j = 14; $j -ge 0; $j-) $k = $k * 256 -bxor $binArray[$j] $binArray[$j] = [math]::truncate($k / 24) $k = $k % 24 $productKey = $charsArray[$k] + $productKey If (($i % 5 -eq 0) -and ($i -ne 0)) $productKey = “-” + $productKey $win32os = Get-WmiObject Win32_OperatingSystem -computer $target $obj = New-Object Object $obj
Tiếp theo, bạn vào File (1) => Save As… (2).

Bước 3: Bạn chọn nơi lưu file (1) => chọn All Files (2) => đặt tên với phần mở rộng .ps1 (3) => Save (4).

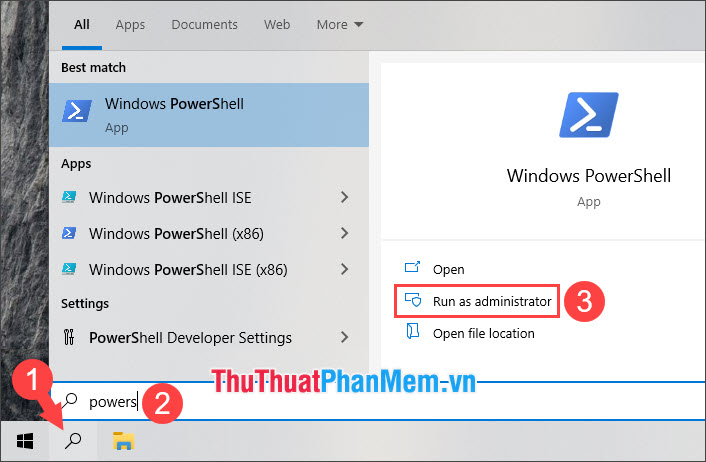
Bước 4: Bạn click vào Search (1) => tìm kiếm từ khoá powers (2) => Run as administrator (3).
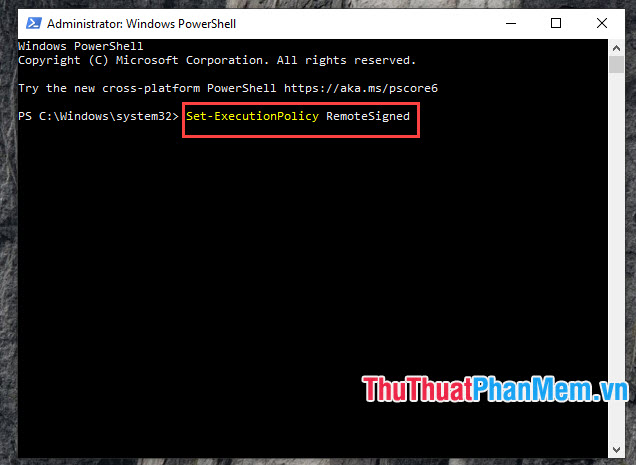
Bước 5: Bạn thực hiện lệnh sau và Enter.
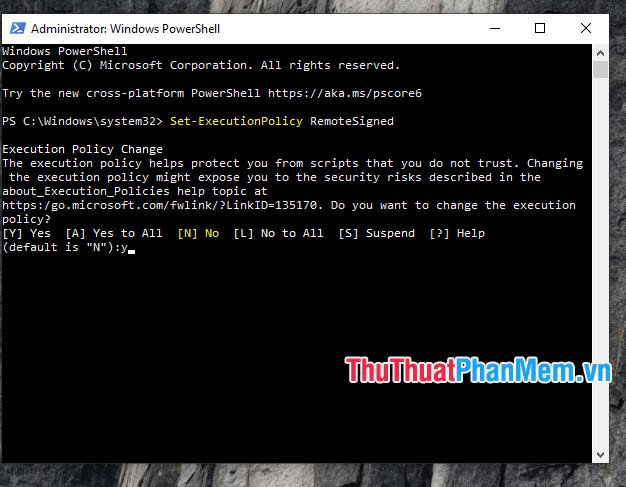
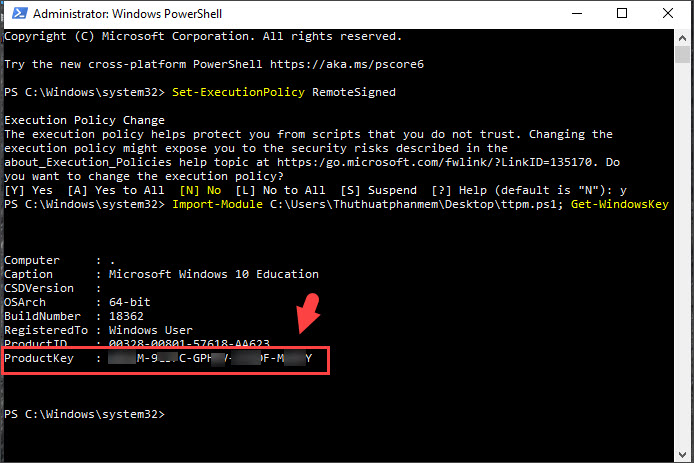
Set-ExecutionPolicy RemoteSigned
Ấn Y để đồng ý thay đổi thiết lập.
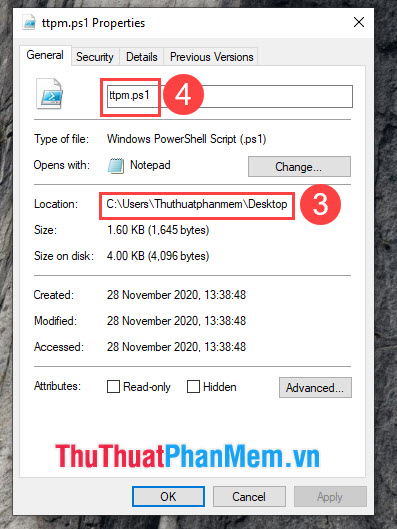
Bước 6: Bạn click chuột phải vào file PowerShell (1) vừa tạo ở Bước 2,3 => Properties (2).

Tiếp theo, bạn ghi nhớ đường dẫn (3) và tên file (4) để chèn vào lệnh tiếp theo trong PowerShell.
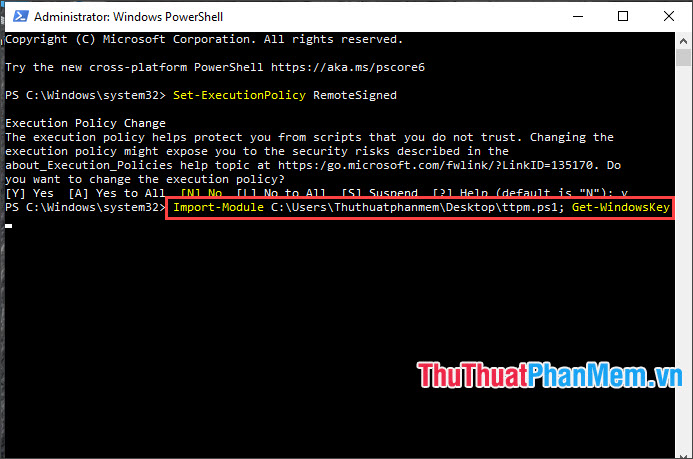
Bước 7: Bạn quay lại PowerShell và thực hiện lệnh sau.
Import-Module <đường dẫn file>; Get-WindowsKey
Với <đường dẫn file> là đường dẫn tới file mà bạn lấy ở Bước 6.
Bước 8: Sau khi thực hiện lệnh xong thì bạn có thể xem ProductKey hiển thị bên dưới.
Với hướng dẫn trong bài viết thì bạn có thể kiểm tra key trên Windows 10 dễ dàng. Bạn có thể thực hiện những cách trên bài viết cho các phiên bản Windows cũ hơn như Windows 8.1/7/Vista.
Originally posted 2021-09-19 21:10:12.
- Share CrocoBlock key trọn đời Download Crocoblock Free
- Cung cấp tài khoản nghe nhạc đỉnh cao Tidal Hifi – chất lượng âm thanh Master cho anh em mê nhạc.
- Hướng dẫn kích hoạt Zoom bản quyền
- Cho thuê vps giá rẻ cho sinh viên | Vps windows giá rẻ 50k
- Uống Acnotin bao lâu thì hết mụn? Liều lượng & cách sử dụng
- Hướng Dẫn Sửa Lỗi Không Cài Được NET Framework 3.5 Trên Windows 10
- The Credentials Supplied Are Not Sufficient To Access This Printer
Bài viết cùng chủ đề:
-

Làm Sim Sinh Viên,Chuyển đổi gói cước Viettel,Vinaphone,Mobile tại simredep.vn
-

Những phim có cảnh sex trần trụi bị cấm phát hành trên thế giới
-

Mạch đếm sản phẩm dùng cảm biến hồng ngoại – Học Điện Tử
-

6 Mẹo dân gian chữa rướn ở trẻ sơ sinh khi ngủ tự nhiên an toàn
-

Sao kê tài khoản ngân hàng ACB-những điều cần biết
-

Acer Iconia B1-723 – Chính hãng | Thegioididong.com
-

Cách khắc phục lỗi Voz không vào được bạn không nên bỏ qua
-

Tắt mở màn hình iPhone cực nhanh, không cần phím cứng – Fptshop.com.vn
-

[SỰ THẬT] Review bột cần tây mật ong Motree có tốt không?
-

Cách rút gọn link Youtube
-

Chèn nhạc trong Proshow Producer, thêm nhạc vào video
-

Hack Stick War Legacy Full Vàng Kim Cương Tiền ❤️ 2021
-

Cách chuyển font chữ Vni-Times sang Times New Roman
-

Du lịch Thái Lan nên đi tour hay đi tự túc? – BestPrice
-

Cách reset Wifi FPT, đặt lại modem wifi mạng FPT
-
9 cách tra số điện thoại của người khác nhanh chóng, đơn giản – Thegioididong.com


