How to Fix Error "We Couldn&039t Install some Updates Because the PC was Turned off"? – friend.com.vn

Th4
Deprecated: trim(): Passing null to parameter #1 ($string) of type string is deprecated in /home/caocap/public_html/wp-content/plugins/fixed-toc/frontend/html/class-dom.php on line 98
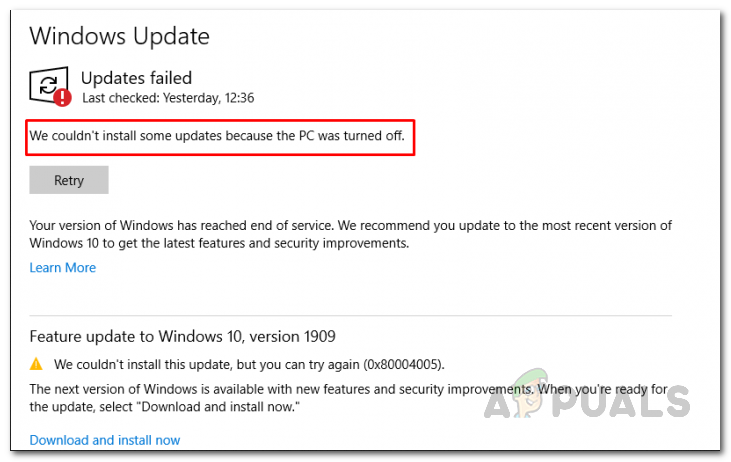
Updates are important for any application. Windows updates play a vital role in keeping your system secure and bug free. However, in some cases, the process of updating can become frustrating which is when you stumble upon an error message. The “We couldn’t install some updates because the PC was turned off” error message is no exception here. The error message appears while you are trying to download the latest updates via the Settings app. From the message itself, it turns out to be really weird especially when you haven’t had any interruption while it was downloading the update from Microsoft’s servers.
As it turns out, the issue is normally triggered when something interferes with the downloading process. There are multiple factors that can come into play here. For example, if you had a power outage while downloading the update, that can result in the error message. When the update isn’t downloaded properly and some third-party factor interrupts it, it can damage the update files which in turn can’t be installed on your system and thus the error message is prompted. In addition to that, if something on your system interrupts with the Windows Update service, that can also result in the update failing and throwing up the error message in question.
With that said, there are actually really easy workarounds to this issue that you can implement to get your Windows system updated without any anomalies. So, without further ado, let us get right into it.
Restart the Windows Update Service
As it turns out, the first thing that you should do when you face the error message in question is to restart your Windows Update service. This service is responsible for downloading the updates from Microsoft’s servers and then installing them on your system. Therefore, if the service has become unresponsive or faced any other issue, it can cause several issues with the update process such as the one you are facing. The service can be easily restarted via the Windows Services window. To do this, just follow the instructions given down below:
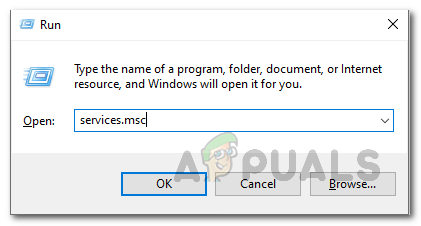
- First of all, open up the Run dialog box by pressing the Windows key + R combination.
- Then, once the Run dialog box is open, type in friend.com.vn and hit the Enter key.

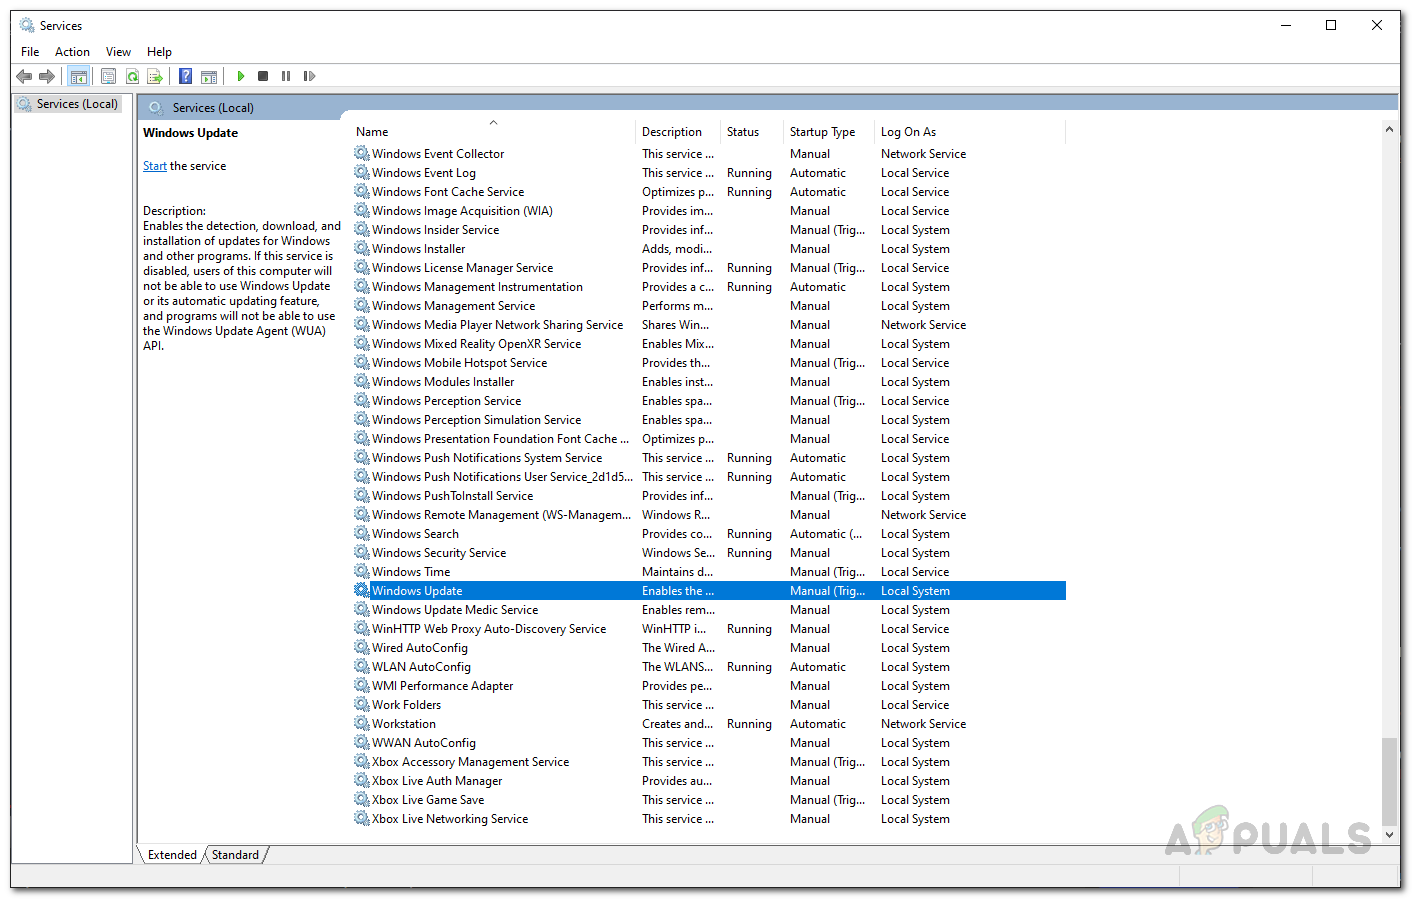
Opening Services Window - This will bring up the Windows Services window that has a list of all the services on your system. Here, you will have to locate the Windows Update Service. For that, scroll all the way down as that’s where it normally resides.
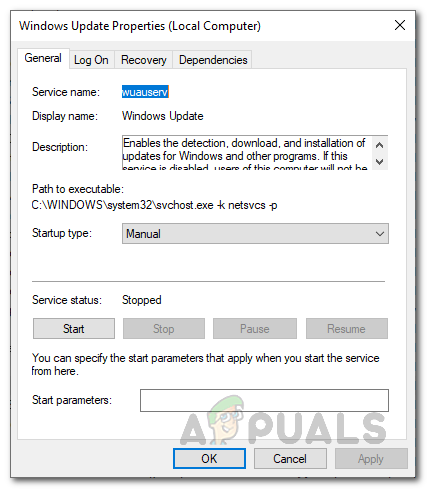
Windows Update Service - Once you have found the Windows Update service, double-click on it to open up the Properties window.
Windows Update Service Properties - In the Properties window, click the Stop button to stop the service.
- Once the service has stopped, click on the Start button to start it again.
- After you have restarted the process, go ahead and try to update Windows again to see if the issue is still around.
Reboot your Computer
If restarting the Windows Update service does not fix the issue and you are still getting the error message while installing updates, it would be a good idea to reboot your PC. In most of the cases, when you are facing issues like this, all it requires is a simple system restart. Restarting your PC can often help with issues like these as restarting your PC will restart all of the services. This is essentially like resetting all the components associated with the Windows update.
Therefore, go ahead and restart your system if you haven’t already. Once you have restarted your system, all the services will start fresh and you should be able to install the updates without any issues.
Disable Third-Party Antivirus
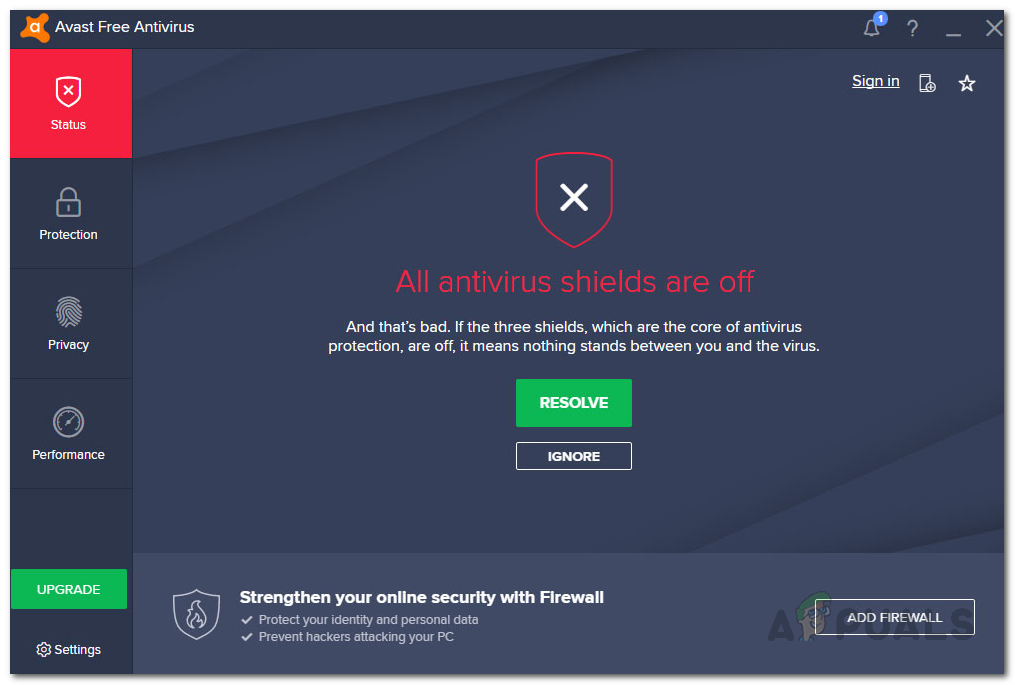
Antivirus software is good as it keeps your computer safe and secure. However, they can often cause several issues on your system. This is because they keep scanning your system for any potential security flaws along with the processes that are running on your system and often times, a false positive is triggered which results in an issue. Same is the case here when the antivirus software on your system interrupts with the update process as it downloads the required files.
In such a scenario, you will have to disable your antivirus software before you start the update process and make sure it stays disabled until the update has finished installing. Therefore, go ahead and disable your antivirus software and then start the update again. See if that circumvents the error message.
Delete Windows Update Signatures
When you start downloading an update, the files required are downloaded and stored on your system before they are installed. One of the folders, known as catroot2, is used to store the signatures of the Windows update and the files being downloaded. These signatures are then used for helping with the installation process. When an update gets interrupted during the download phase, there are chances that the contents of the catroot2 folder are damaged. In such a case, the update can’t be installed on your system and you will have to remove these files before starting the update again. In addition to that, SoftwareDistribution is another essential part of the Windows update that is used for temporarily storing files that are needed for the update. Here, we will be renaming both the catroot2 and SoftwareDistribution folders which will essentially force Windows to download a fresh copy of the files. This is completely safe and will not cause any issues with your system. Rather, on the contrary, it can potentially fix any Windows update issues that you might face. To do this, follow the instructions given down below:
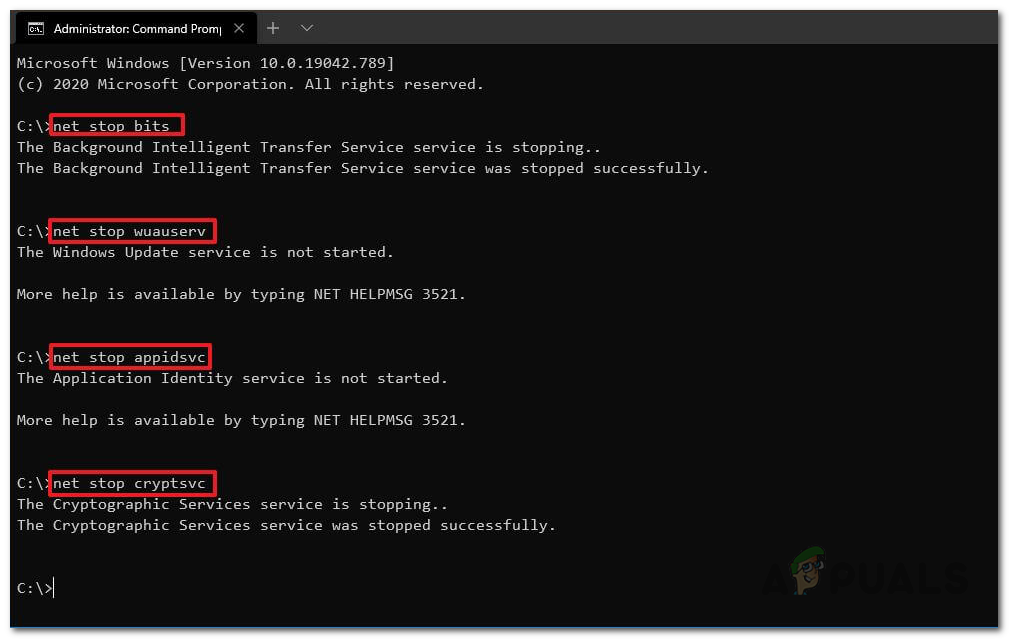
- First of all, open an elevated command prompt window. For this, search for CMD in the Start Menu. Right-click the result shown and from the drop-down menu, choose Run as an administrator.
- Once you have the command prompt window open, type in the following commands one-by-one and hit the Enter key after each one:net stop wuauserv net stop cryptSvc net stop bits net stop msiserver Ren C:WindowsSoftwareDistribution friend.com.vn Ren C:WindowsSystem32catroot2 friend.com.vn net start wuauserv net start cryptSvc net start bits net start msiserver
Resetting Windows Update Services - This will reset the Windows update services as well as rename the catroot2 and SoftwareDistribution folders.
- Once you have done that, go ahead and start the update process again. See if the issue still occurs.
Manually Install the Update
In the unfortunate scenario where the above solutions do not resolve the issue for you, you have the option of manually installing the troublesome update. This is rather very easy as all you need to do is search for the update in the Microsoft Update Catalog, download it and then run the installer. To do this, follow the instructions given down below:
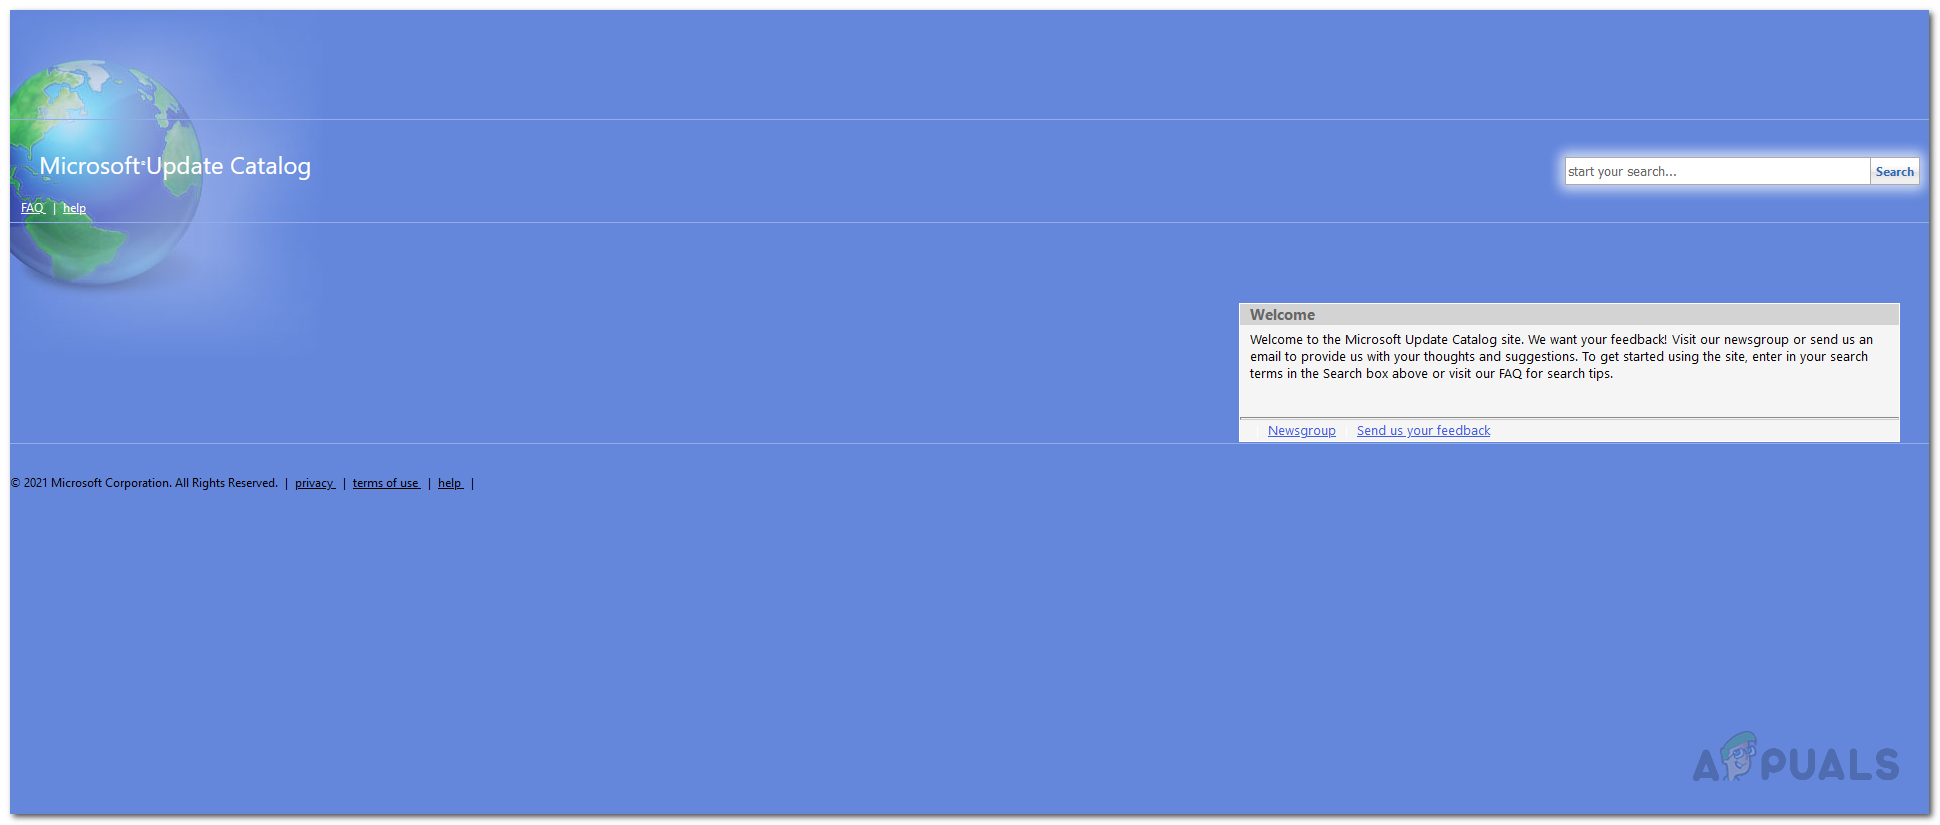
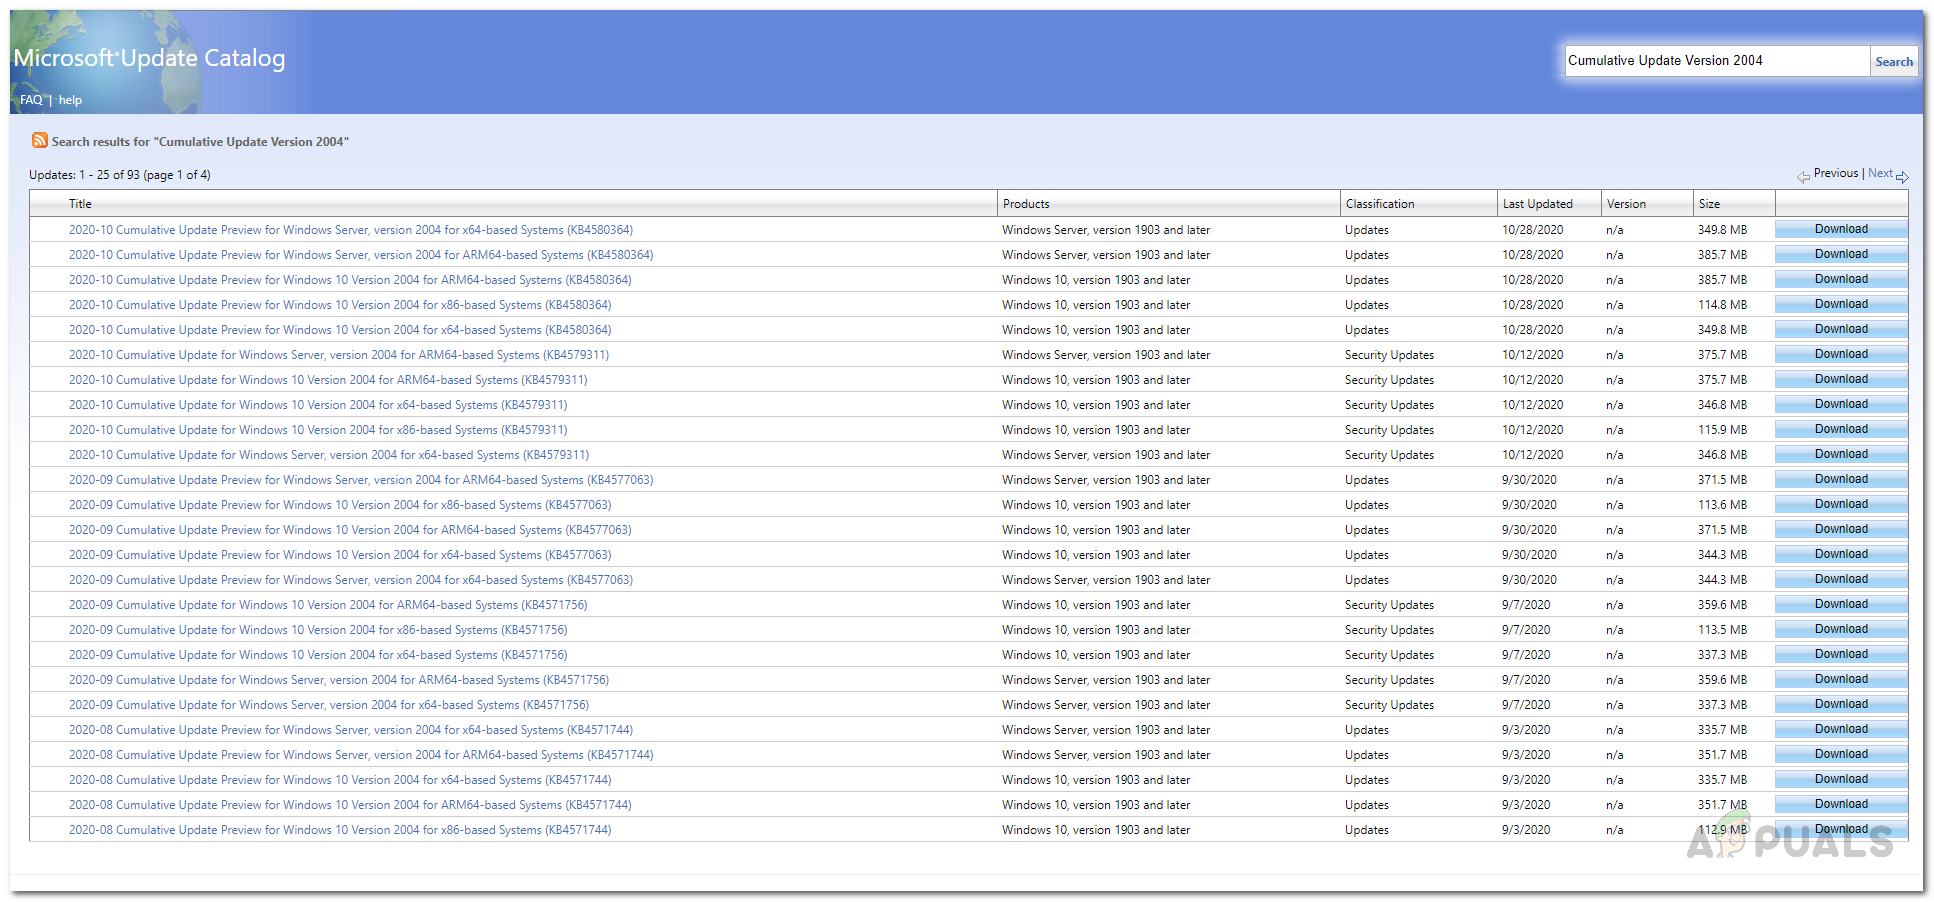
- First of all, make your way to the Microsoft Update Catalog website by clicking here.
Microsoft Update Catalog - Once you have opened up the website, search for the update that is giving you the error in the search box.
- From the results shown, download the update respective to your Windows architecture by clicking the Download button.
Manually Downloading Windows Update - After the update has finished downloading, simply run the installer and follow the on-screen prompts.
- That’s it, you have successfully updated your system. To finish the installation, simply restart your computer and you will be good to go.
Read Next
- How to Fix Error Code 800F0922 on Windows 7 / 8.1 / 10
- How to Fix “Error Code: 0x00001338” in Call of Duty Vanguard?
- How to Fix “HTTP/1.1 Service Unavailable” Error on Windows?
- How to Fix Outlook Error [pii_email_e7ab94772079efbbcb25]?
TagsWindows
- Share CrocoBlock key trọn đời Download Crocoblock Free
- Cung cấp tài khoản nghe nhạc đỉnh cao Tidal Hifi – chất lượng âm thanh Master cho anh em mê nhạc.
- 1 Download Call Of Duty Modern Warfare 3 Full 1 Link Fshare
- Cách sửa lỗi không tải được ứng dụng trên CH Play cực nhanh mà ai cũng có thể làm được-Công nghệ thông tin
- Share Tài Khoản Canva Pro Miễn Phí [Mới nhất 2022] – friend.com.vn
- Uống Bột Cần Tây Giảm Cân đúng Cách Như Thế Nào? | Bí Quyết Khoẻ Đẹp
- Cách cài đặt Google Chrome làm trình duyệt mặc định trên điện thoại – friend.com.vn
Bài viết cùng chủ đề:
-
Acer Iconia B1-723 – Chính hãng | Thegioididong.com
-
Cách khắc phục lỗi Voz không vào được bạn không nên bỏ qua
-
Tắt mở màn hình iPhone cực nhanh, không cần phím cứng – Fptshop.com.vn
-
[SỰ THẬT] Review bột cần tây mật ong Motree có tốt không?
-
Chèn nhạc trong Proshow Producer, thêm nhạc vào video
-
Cách rút gọn link Youtube
-
Cách chuyển font chữ Vni-Times sang Times New Roman
-
Hack Stick War Legacy Full Vàng Kim Cương Tiền ❤️ 2021
-
Du lịch Thái Lan nên đi tour hay đi tự túc? – BestPrice
-
Cách reset Wifi FPT, đặt lại modem wifi mạng FPT
-
9 cách tra số điện thoại của người khác nhanh chóng, đơn giản – Thegioididong.com
-
Top 4 smartphone chạy chip Snapdragon 820 giá rẻ đáng mua – Tin công nghệ mới nhất – Đánh giá – Tư vấn thiết bị di động
-
Top 30 bộ phim Hàn có rating cao nhất mọi thời đại – Chọn Thương Hiệu
-
Top 9 game về chiến tranh Việt Nam bạn nên trải nghiệm ngay
-
EXP là gì? Ý nghĩa EXP trong game và các lĩnh vực khác
-
phần mềm encode sub – Chia sẻ thủ thuật phần mềm, máy tính, game mới nhất