Fixing ‘You need permission to perform this action’ in Windows – Auslogics blog
Deprecated: trim(): Passing null to parameter #1 ($string) of type string is deprecated in /home/caocap/public_html/wp-content/plugins/fixed-toc/frontend/html/class-dom.php on line 98
‘If you want to achieve greatness, stop asking for permission’ Anonymous
Losing control over your own computer is undoubtedly dispiriting. Suffice it to say, such an issue turns your daily PC routine into a nightmare, as you can’t use your files, folders or apps and therefore do your work. Unfortunately, you can run into ‘You need permission to perform this action’ in Windows 10, 8, 8.1, or 7 for no apparent reason, which means this problem can crop up out of the blue and mess all things up. Since you are on this page, we assume that it is your case.
As such, we recommend that you make use of our exhaustive guide on how to fix ‘you need permission to perform this action windows 8, 8.1, 7, 10’:
1. Turn off your third-party antivirus
To begin with, you should temporarily disable your non-Microsoft security solution, as it might be the culprit. If doing so resolves your issue, report it to your vendor or consider switching to another antivirus product.
2. Scan your computer for malware
If the first method has not helped you, it is time to check your system for malware – especially if you can observe these symptoms besides the annoying ‘You need permission to perform this action’ notifications.
To check if your PC is malware-infected, you can make use of your main antivirus or the built-in Windows Defender solution. To employ Windows Defender in Windows 7, take these steps:
- Go to the Start menu -> Type ‘Defender’ (without quotes) into the Search box
- Select Windows Defender from the list -> Select the Scan option
Here is how you can utilize Windows Defender in Windows 8(8.1):
- Click on the Start button – > Go to the Search box
- Input ‘Windows Defender’ -> Select Windows Defender from the list
- Open Windows Defender -> Go to the Update section
- Select Home -> Navigate to Scan Options
- Select Full -> Choose Scan now
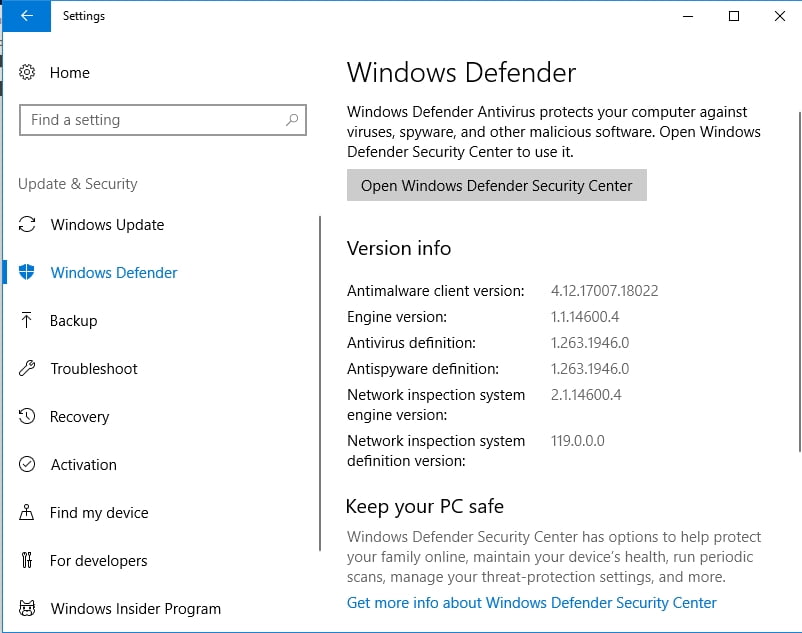
To scan your system with Windows Defender in Win 10, do the following:
- Open your Start Menu -> Navigate to Settings -> Enter the Update & Security section
- Go to Windows Defender -> Open Windows Defender -> Run a full scan of your system

To rule out malware issues when fixing the ‘You need permission to perform this action’ nuisance, you should make sure to examine every nook and cranny of your system. For this purpose, your main antivirus needs a dependable ally with which it can work in tandem. That is why we advise you to use Auslogics Anti-Malware: this tool will detect and remove the threats you had no knowledge even existed.
3. Reboot your PC in Safe Mode
If conducting an anti-malware scan has not resolved your problem, try rebooting your OS in Safe Mode.
To do so in Windows 10 / Windows 8 (8.1), follow the instructions below:
- Click on your Start button -> Go to Power
- Press and hold the Shift key -> While holding it, click Reboot
- Your PC will reboot into the Troubleshoot screen
- Troubleshoot -> Advanced options
- Startup Settings -> Restart
- Your PC will reboot -> After the restart, hit F4
- Check if your computer is OK now
To start Windows 7 in Safe Mode, take these steps:
- Save your work and choose to restart your PC
- While it’s booting, press F8 (before the Windows loading screen)
- Select Safe Mode and check if this has resolved your issue
All to no avail? Then press ahead with your troubleshooting – you still have a plenty of tricks up your sleeve.
4. Check your security permissions
If the ‘You need permission to perform this action’ problem persists, take a closer look at your security permissions – they might need some tweaking. Here is what you should do:
- Right-click on the problematic file, folder or app -> Select Properties from the menu
- Navigate to the Security tab -> Find the account which permissions you wish to check in the Group or user names section -> Click on the Edit button
- Select the account in question -> Navigate to the Permissions section
- In the Allow column, check Full control -> Click on Apply -> Click OK to save the changes
- Check if your issue has been solved
5. Change the ownership for the problematic item
No success whatsoever? Then let’s try changing the ownership for the item which is having permission issues:
- Right-click on the object which is blocked by the ‘You need permission to perform this action’ message
- Select Properties and proceed to the Security tab -> Click on the Advanced button
- Navigate to the Owner section and click on Change -> You will see the Select User or Group window
- Go to the Enter the object name to select field and type Administrators or your username -> Click on the Check names button -> OK
- Check Replace owner on subcontainers and objects -> Apply -> OK
Another way to take ownership of the problematic item is by using Command Prompt:
- On your keyboard, press the Windows logo key and S buttons simultaneously to open the Search field-> Type ‘CMD’ without quotes into it
- Select Command Prompt from the list of options and right-click on it -> Choose to run it as administrator -> Provide your confirmation or administrator credentials if asked for
- An elevated command prompt will open -> Type the following commands (“path_to_folder” should be the actual path to your problematic folder):
takeown /f “path_to_folder” /r /d y icacls “path_to_folder” /grant administrators:F /T
- Close your Command Prompt and restart your PC
- Check if that trick has resolved your problem
6. Add your account to the Administrators group
‘You need permission to perform this action’ might stem from your not having the necessary administrative privileges. Here is how you can solve the matter by adding your account to the Administrators group:
In Windows 7:
- Click the Start button -> Go to Control Panel -> Click User Accounts
- Click User Accounts again -> Then click Manage User Accounts -> Provide your confirmation or password if prompted
- Go to the Users tab -> Navigate to Users for this computer ->Select your account -> Click Properties
- Move to the Group Membership tab -> Click on the Administrators group -> Click OK -> Then click OK again
In Windows 8 (8.1):
- Press Windows Key + X on your keyboard -> Select Command Prompt (Admin)
- Type the following words into your Command Prompt dialog: net localgroup-> You will see a list of all your local groups
- Run the following command: net localgroup Administrators [username] /add (make sure to replace [username] with the name of the account that you wish to add to your Administrators group)
In Windows 10:
- Press the Windows Key + X shortcut -> Select Computer Management
- Go to Local Users and Groups -> Users
- In the left pane, locate your account and double-click on it
- Go to the Member Of tab -> Click on the Add button
- Navigate to the Enter the object names to select field
- Type Administrators -> Click on Check Names -> OK
- Select Administrators -> Apply -> OK
Restart your PC and check if your computer is OK now.
7. Reinstall the affected app
If one of your apps keeps having permission issues, you might need to reinstall it.
Here is how you can do that
in Win 10:
- Go to your Start menu -> Click on Settings
- Navigate to System -> Select Apps and Features
- Search for the app you wish to uninstall
- Select it and click Uninstall -> Confirm your action if prompted
in Win 8/8.1:
- Click on the Start icon -> The Start screen will open
- Locate the app you want to remove -> Right-click on its icon
- A toolbar will show up at the bottom of the screen -> Select Uninstall
- You will be taken to the Programs and Features section -> Press Uninstall
in Win 7:
- Click on the Windows icon -> Click on Control Panel
- Move to Programs -> Click on Uninstall a program
- Locate the program you want to uninstall and click on it
- Click Uninstall and provide your confirmation
- Then install this app again and check if you can use it
8. Fix your system registry
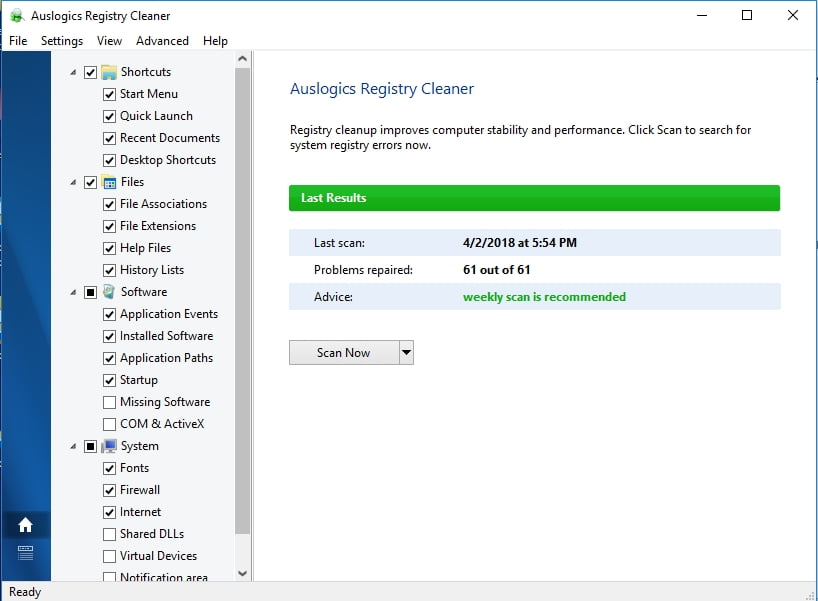
If all the fixes above have failed to help you, the chances are your Windows Registry is corrupt or damaged. Whether you like it or not, you can’t keep it that way, so your registry should be repaired without any further delay. However, you should not rush into editing it, as even a tiny error can literally lead to disaster. As such, in order to avoid damaging your system beyond repair, consider using a special tool that can do the job without exposing your computer to the risk of going haywire. 100 % free Auslogics Registry Cleaner is just what the doctor ordered: you can loosen up a little and have your registry fixed by this intuitive and reliable tool.

9. Clean install your operating system
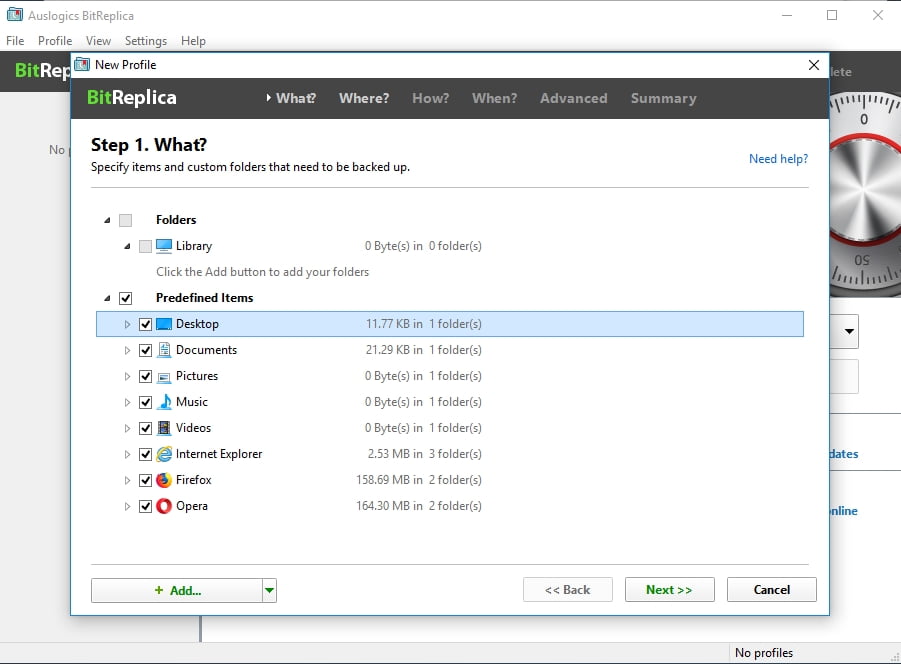
Unfortunately, if you have made this far, clean installing your system might be your only option. Keep in mind that resorting to this method will fully clean your drive, so make sure your personal files are properly backed up. You can use a cloud solution, an external hard drive or special software such as Auslogics BitReplica to avert permanent data loss. You can even migrate your files to another laptop – the choice is yours. After securing your data, proceed to the instructions below.

Thus, if your PC is running Windows 10, these are the steps to take:
- Open your Start menu and click on the Settings gear
- Navigate to Update & security and select Reset this PC
- Get started -> Remove everything
If you want to clean install Windows 7, 8 or 8.1, you will need special installation media to boot from. You can create it yourself or buy it.
Hopefully, no item on your PC erupts with ‘you need permission to perform this action’ any more.
Have our tips proved useful? Do you have anything to add regarding the issue in question?
We are looking forward to your comments!
- Share CrocoBlock key trọn đời Download Crocoblock Free
- Cung cấp tài khoản nghe nhạc đỉnh cao Tidal Hifi – chất lượng âm thanh Master cho anh em mê nhạc.
- Hướng dẫn tạo một chiếc USB BOOT đầy đủ chức năng
- Top 5 ứng dụng tải phim Hot nên cài đặt cho điện thoại iPhone
- Cách chuyển đổi font chữ trong Excel bằng Unikey, EVKey
- Tương lai KHÓC HAY CƯỜI phụ thuộc vào ĐỘ LƯỜI của quá khứ – Giác ngộ
- 16 Ứng Dụng Đọc Truyện Ngôn Tình Offline Miễn Phí, Ít Quảng Cáo
Bài viết cùng chủ đề:
-
Sửa lỗi mã hóa ký tự bị hỏng, bị lỗi trên Word 2019, 2016, 2013, 2010
-
10 Chuyện Tâm linh có thật – Nơi thế giới vô hình huyền bí
-
Hướng dẫn xử lý lỗi iphone 6 plus không nhận vân tay
-
100+ Hình nền, ảnh Anime nữ cute girl, dễ thương máy tính, điện thoại
-
Perfect Money là gì? Hướng dẫn sử dụng PM mới nhất 05/10/2021
-
Bí quyết bắt Pokemon không cần di chuyển
-
Làm Sim Sinh Viên,Chuyển đổi gói cước Viettel,Vinaphone,Mobile tại simredep.vn
-
Những phim có cảnh sex trần trụi bị cấm phát hành trên thế giới
-
Mạch đếm sản phẩm dùng cảm biến hồng ngoại – Học Điện Tử
-
6 Mẹo dân gian chữa rướn ở trẻ sơ sinh khi ngủ tự nhiên an toàn
-
Sao kê tài khoản ngân hàng ACB-những điều cần biết
-
Acer Iconia B1-723 – Chính hãng | Thegioididong.com
-
Cách khắc phục lỗi Voz không vào được bạn không nên bỏ qua
-
Tắt mở màn hình iPhone cực nhanh, không cần phím cứng – Fptshop.com.vn
-
[SỰ THẬT] Review bột cần tây mật ong Motree có tốt không?
-
Cách rút gọn link Youtube


